

Ozma — open-source CRM/ERP platform
Ozma is an open-source CRM/ERP platform that allows for rapidly developing customizable enterprise systems.
Quick Start
- Click the "Deploy on Railway" button below
- Click the "Deploy ozma" button on the opened Railway page
- Sign in to your Railway account or create one
- In the "Keycloak" block, fill two fields with your email and any password
- Click the "Deploy" button below
- Wait for deployment to complete — all blocks will have a green check mark, and at least 5 minutes pass
- Open Railway block "ozma" after deployment
- Open your app at the generated URL on the screen (e.g.,
ozma-production-xxxx.up.railway.app)

Resources

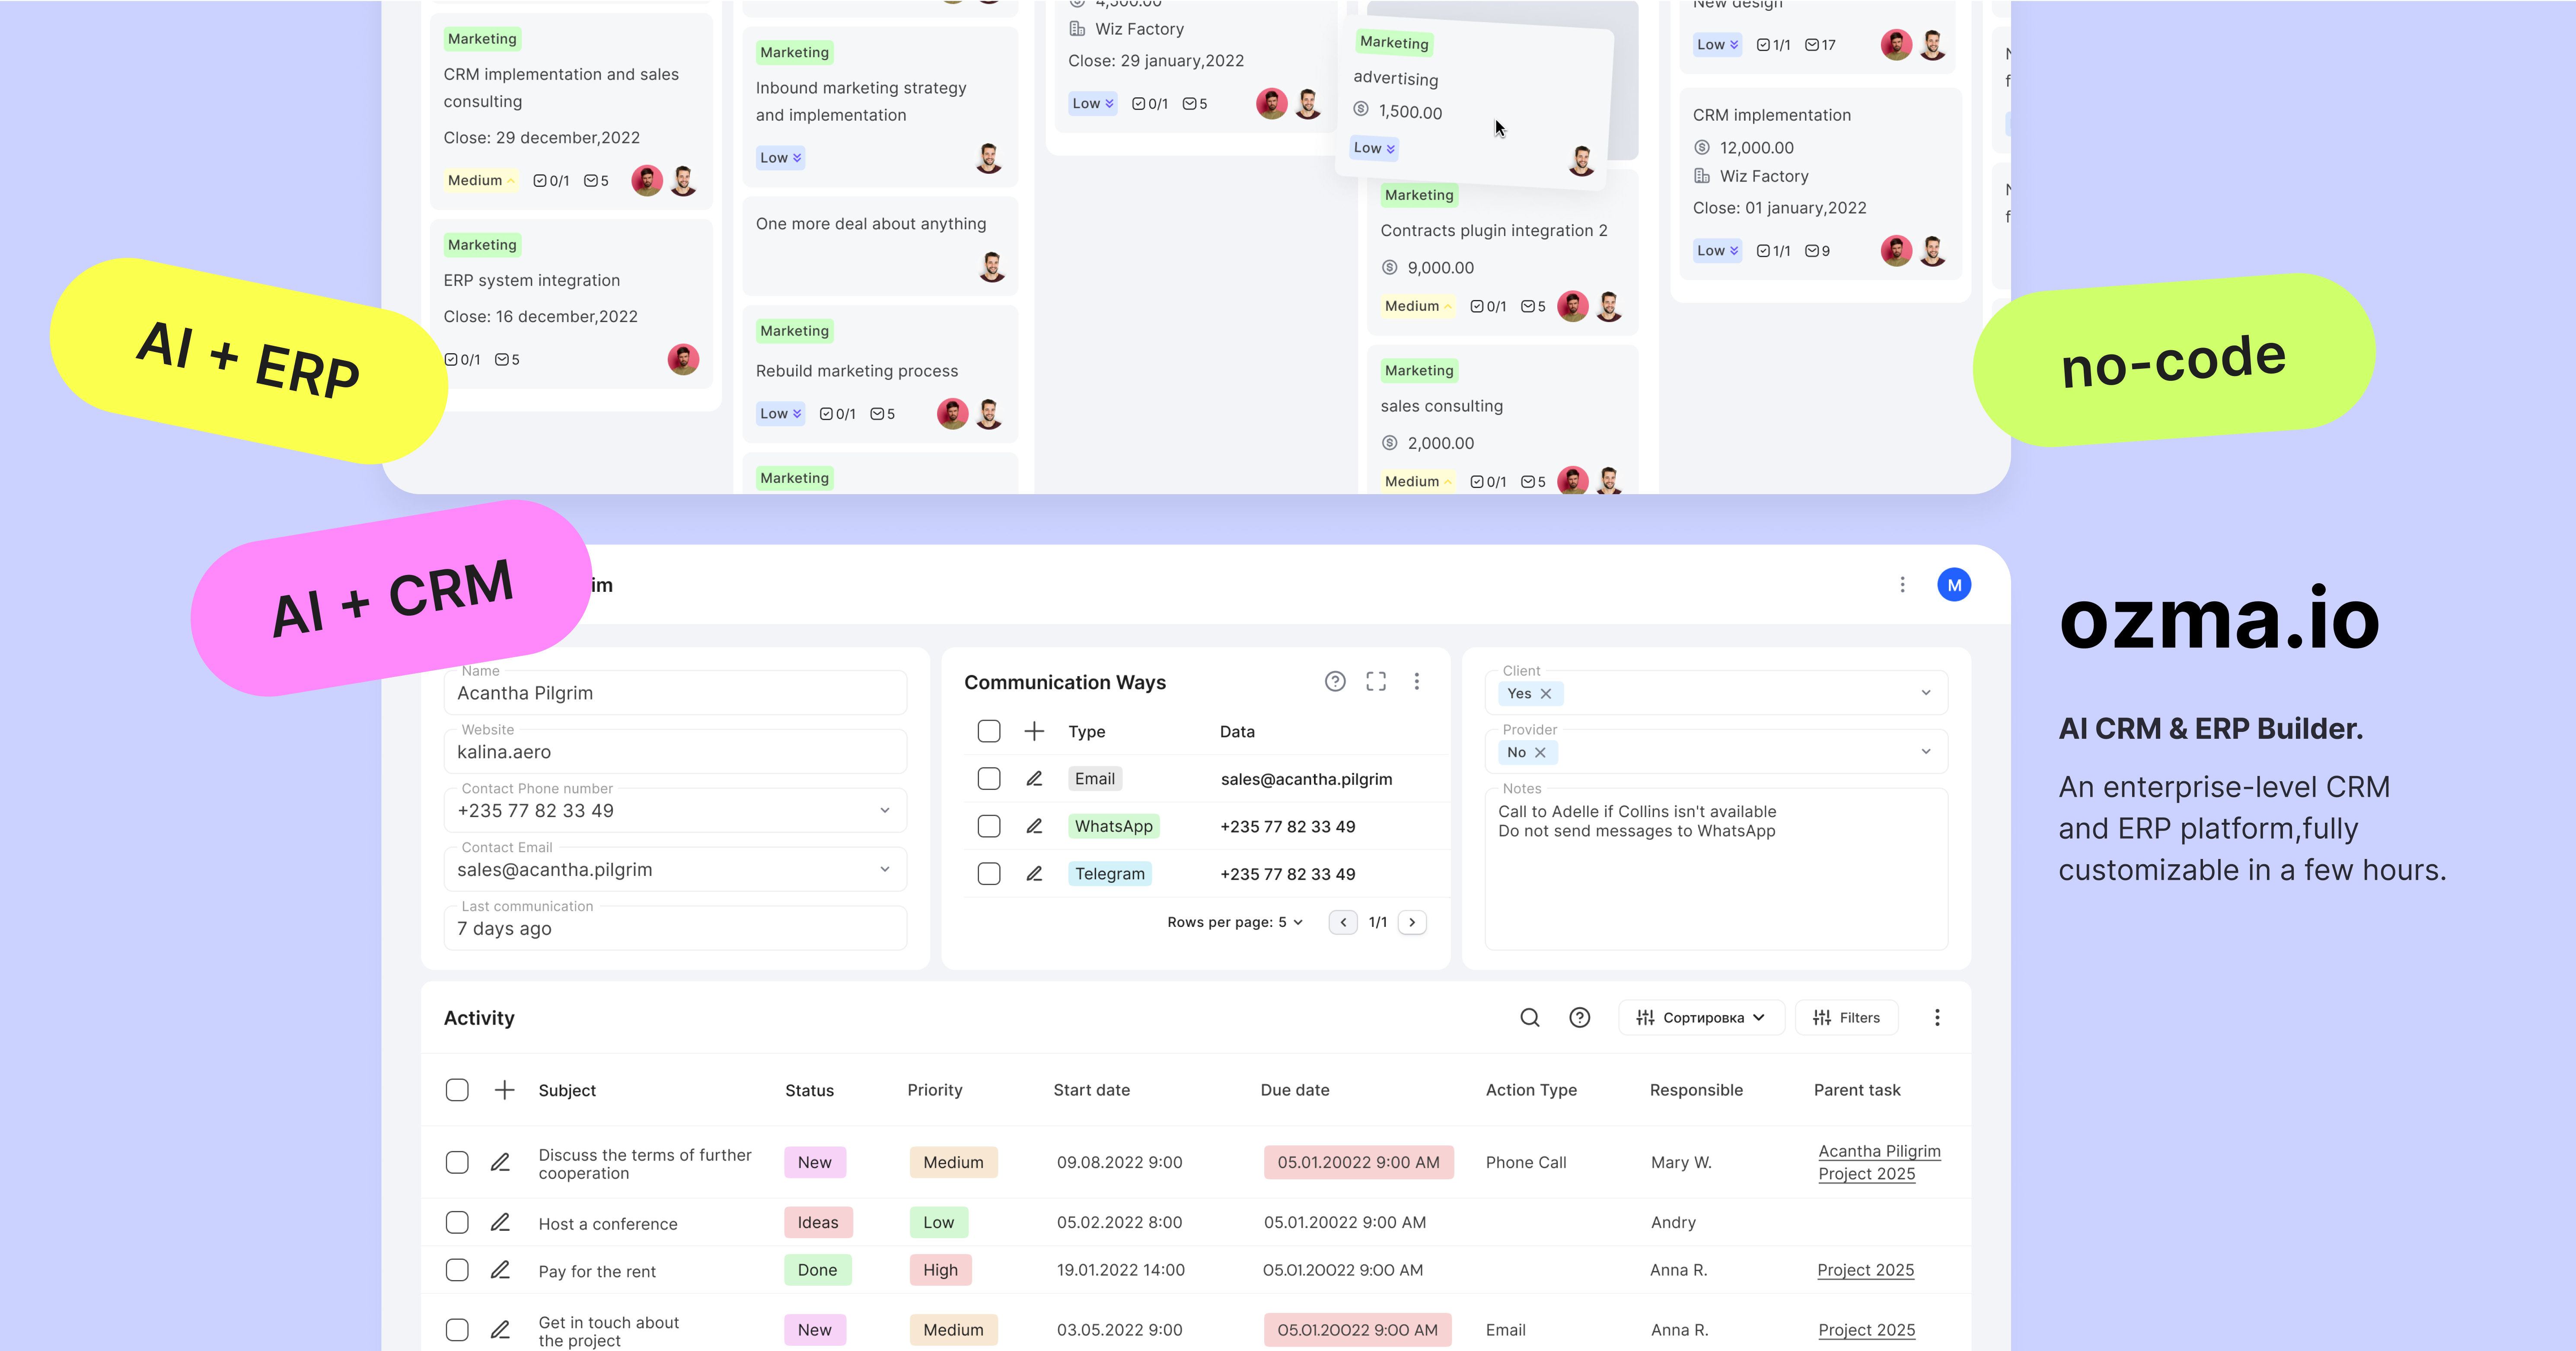
Table of Contents
- Introduction
- Features
- Prerequisites
- Setup Options
- Accessing the Application
- Logging In
- Managing Users
- Updating the Application
- Stopping the Application
- FAQs
- Contributing
- License
Prerequisites
Before you begin, ensure you have the following:
- Operating System: Ubuntu or any Linux distribution
- Root Access: Administrative privileges on your server
- Docker Engine: Installed Docker CE (Community Edition)
- Git: Installed Git for cloning the repository
- Domain Name (Optional): A registered domain (e.g.,
your-address.com) pointing to your server's IP address.
Installing Docker and Git
Install Git:
sudo apt update
sudo apt install git
Install Docker:
- Follow the official Docker installation guide for Ubuntu: Install Docker Engine on Ubuntu
Setup Options
You can set up Ozma in either a development environment or a production environment, depending on your needs.
Running in Development Environment
Follow these steps to set up Ozma locally in a development environment.
1. Cloning the Repository
If you haven't already cloned the repository, do so now:
git clone https://github.com/ozma-io/ozma.git
cd ozma
2. Setting Up Environment Variables
Copy the example environment file for development:
cp env.dev.example .env3. Starting the Development Server
Start the development server using Docker Compose:
docker compose upThis will start the development environment with all the required services.
4. Accessing the Development Server
Once the server is running, you can access the application and administrative interfaces:
- Ozma Application:
http://localhost:9080/ - Keycloak Admin Interface:
http://localhost:9080/auth/ - Report Generator Admin Interface:
http://localhost:9080/report-generator/admin/ozma/[!NOTE] The development server runs on
http://localhost:9080. Ensure that port9080is open and not used by other applications on your local machine.
5. Default Credentials
Use the following default credentials to log in:
Ozma Admin User
- Username:
[email protected] - Password:
admin(You will be prompted to change your password upon first login)
Keycloak Admin User
- Username:
admin - Password:
admin
Running in Production Environment
Follow these steps to install Ozma in a production environment.
1. Setting Up the Server
Set up a machine with Linux (Ubuntu is recommended). You can use any cloud provider such as AWS, Google Cloud, Yandex.Cloud etc.
2. Domain Configuration (Optional)
- Register a domain name or use an existing one (e.g., your-domain.com).
- Create an A record in your DNS settings pointing
your-domain.comto your server's IP address. - If using a subdomain, ensure it also points to your server.
3. Installing Necessary Software
Update your package lists:
sudo apt updateInstall Git and other dependencies:
sudo apt install git ca-certificates curlInstall Docker (if you haven't already done it):
sudo install -m 0755 -d /etc/apt/keyrings
sudo curl -fsSL https://download.docker.com/linux/ubuntu/gpg -o /etc/apt/keyrings/docker.asc
sudo chmod a+r /etc/apt/keyrings/docker.asc
echo \
"deb [arch=$(dpkg --print-architecture) signed-by=/etc/apt/keyrings/docker.asc] https://download.docker.com/linux/ubuntu \
$(. /etc/os-release && echo "$VERSION_CODENAME") stable" | \
sudo tee /etc/apt/sources.list.d/docker.list > /dev/null
sudo apt update
sudo apt install docker-ce
4. Cloning the Repository
Clone the Ozma repository:
git clone https://github.com/ozma-io/ozma.git
cd ozma
5. Setting Up Environment Variables
Copy the example environment file for production:
cp env.production.example .envEdit the .env file:
nano .envIn the .env file, you need to:
- Set Keycloak Admin Password: Assign a strong password to
KEYCLOAK_ADMIN_PASSWORD. - Update Domain/IP Address: Replace
example.comwith your domain or server IP inCADDY_ADDRESSandEXTERNAL_ORIGIN. - Define Admin Email: Set
ADMIN_EMAILto your administrator's email address.[!NOTE] Ensure that the
EXTERNAL_ORIGINmatches the address you will use to access the application. This setting is applied only during the initial setup. If you change it later, you will need to recreate the containers (see below).
6. Running the Application
Start the application in production mode:
docker compose up -dWait for Docker to pull images and start the containers. This may take some time.
7. Accessing the Application
Once the containers are up and running, you can access the application at your domain:
- Ozma Application:
https://your-address.com/(orhttp://your-address.com/if SSL is configured) - Keycloak Admin Interface:
https://your-address.com/auth/(orhttps://your-address.com/auth/if SSL is not configured) - Report Generator Admin Interface:
https://your-address.com/report-generator/admin/ozma/(orhttps://your-address.com/report-generator/admin/ozma/if SSL is not configured)
[!NOTE] Replace
your-address.comwith your actual domain name or IP address.If you wish to secure your application with HTTPS without a registered domain, you can use a self-signed certificate or services like Let's Encrypt, although the latter typically requires domain verification.
Accessing the Application
After setting up either the development or production environment, you can access the application using the URLs provided.
[!IMPORTANT] Some URLs require a trailing slash (
/) at the end. Always use the URLs as specified to avoid any issues.
Logging In
Ozma Admin User
- Username:
- For production: The
ADMIN_EMAILyou set in your.envfile. - For development:
[email protected]
- For production: The
- Password:
admin(You will be prompted to change your password upon first login)
Keycloak Admin User
- Username:
admin - Password:
- For production: The password you set in
KEYCLOAK_ADMIN_PASSWORDin your.envfile. - For development:
admin
- For production: The password you set in
Managing Users
Keycloak Integration
Ozma uses Keycloak for user authentication and management. To manage users:
- Access the Keycloak Admin Interface at
https://your-address.com/auth/ - Log in with:
- Username:
admin - Password: The password you set in
KEYCLOAK_ADMIN_PASSWORDin your.envfile
Google Integration in Keycloak
You can configure Google integration in Keycloak to allow users to log in with their Google accounts:
- Follow this guide: Signing in with Google with Keycloak
[!NOTE] After setting up Google integration, users can log in with their Google accounts. Ensure that their emails are added to the
public.userstable in the database to grant them access to the system.
Updating the Application
To update the application to the latest version:
Pull the latest changes from the repository:
git pullRebuild and restart the containers:
docker compose up --build --pull always --remove-orphans -d[!WARNING] Be cautious when pulling the latest changes. Major updates might include breaking changes such as database upgrades. Always back up your data before updating.
Stopping the Application
To stop the application:
docker compose downIf you want to remove all data and volumes (this will delete your databases and any stored data), run:
docker compose down -v[!WARNING] Removing volumes will delete your databases and any persistent data.
FAQs
Q1: I can't access the Keycloak admin interface.
A: Ensure you are accessing the correct URL with a trailing slash: https://your-address.com/auth/
Q2: I'm getting an error about a missing user view user.main.
A: This indicates that the database is empty. You may need to import your database dump or check that the migrations have run correctly.
Q3: How do I import a database dump into Ozma?
A: To import a database dump (for testing or restoring data), please follow our detailed Database Import Guide. This guide provides step-by-step instructions to ensure a smooth and successful import process.
Q4: How do I configure Google authentication in Keycloak?
A: Follow the guide here: Signing in with Google with Keycloak
Q5: I updated the repository and now the application is not working.
A: Ensure you have rebuilt the Docker images and restarted the containers using:
docker compose up --build --pull always --remove-orphans -dCheck for any breaking changes in the update notes or contact the maintainers for support.
Q6: How do I completely remove the application and all its data?
A: Run the following command to stop the containers and remove all associated volumes:
docker compose down -vQ7: How can I contribute to the project?
A: Please refer to the Contributing section below.
Contributing
We welcome contributions from the community. Please follow these steps:
- Fork the repository.
- Create a new branch with a descriptive name.
- Make your changes and commit them with clear messages.
- Submit a pull request to the
mainbranch.
License
This project is licensed under the Apache License 2.0. You may obtain a copy of the License at LICENSE.