
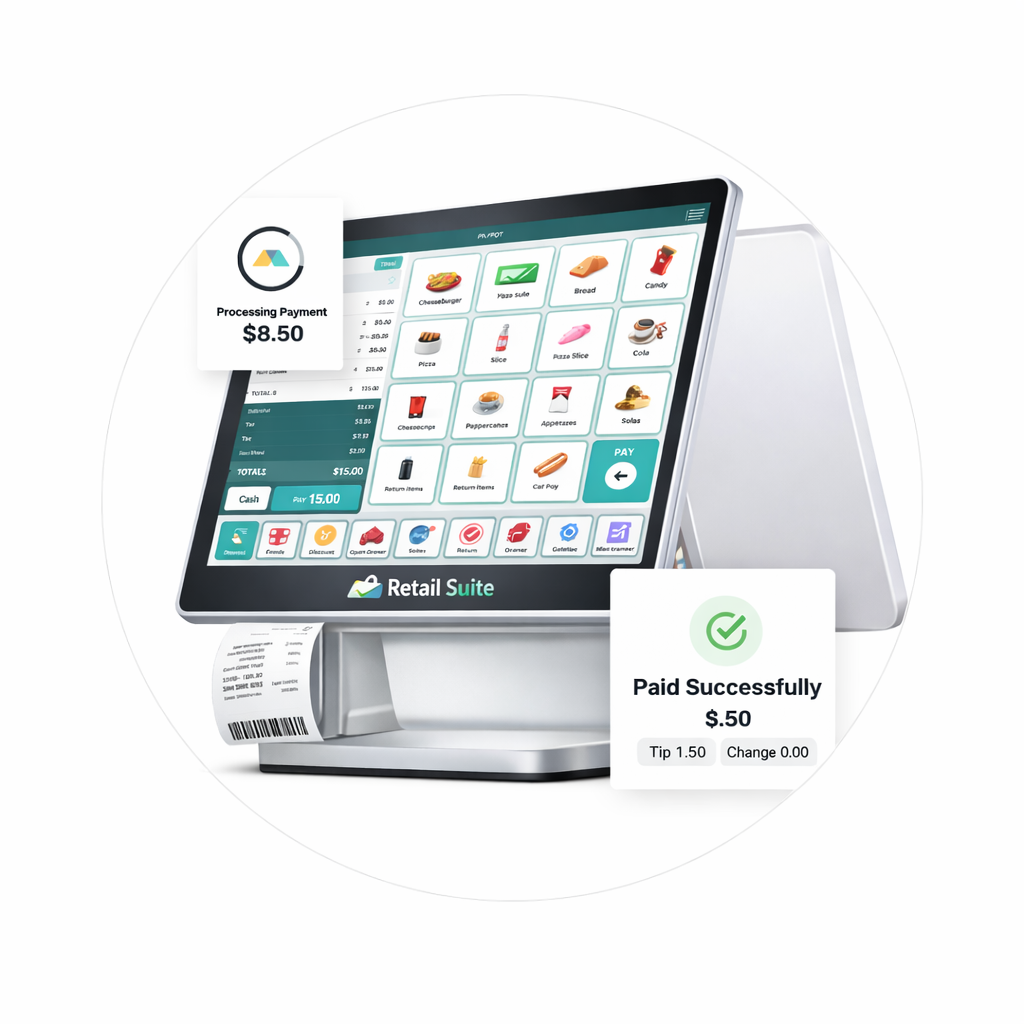
Retail Suite
🛍️ Retail Suite
Retail Suite is a Modern Vue-powered retail and POS experience for ERPNext/Frappe system designed for small and medium retail business. .
Technology
Vue.js & Tailwind CSS frontend Frappe / ERPNext backend
📫 Connect with me




Main Features
Modern Retail & POS Experience
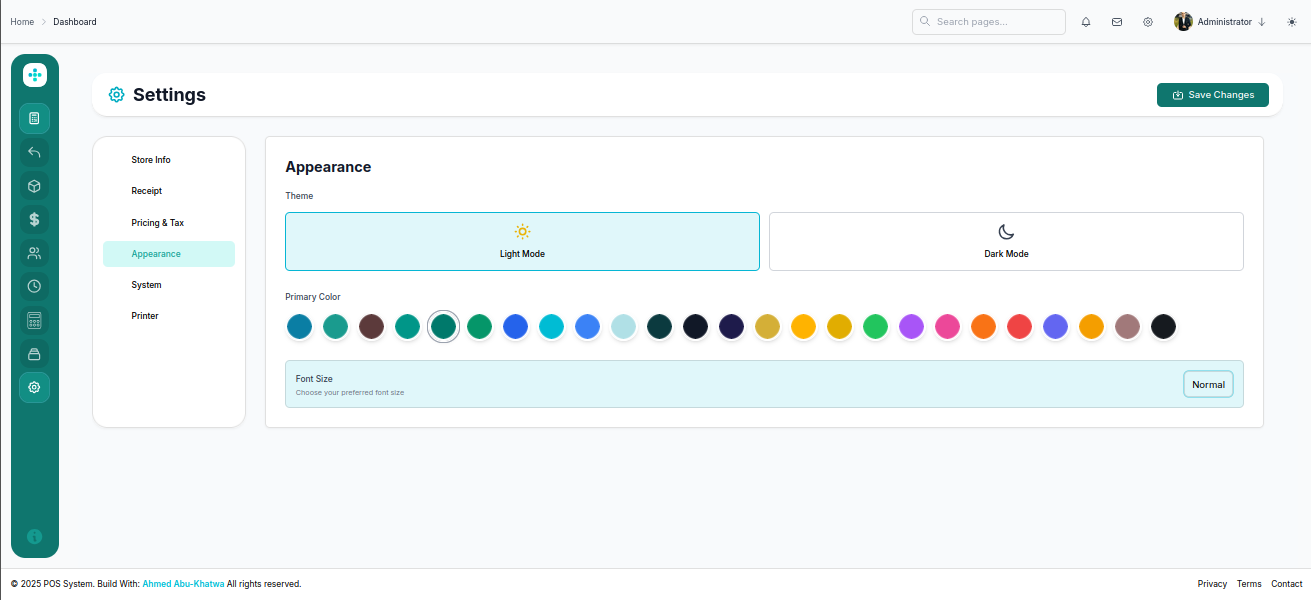
- Dark / Light Mode support with modern Vue-powered POS interface
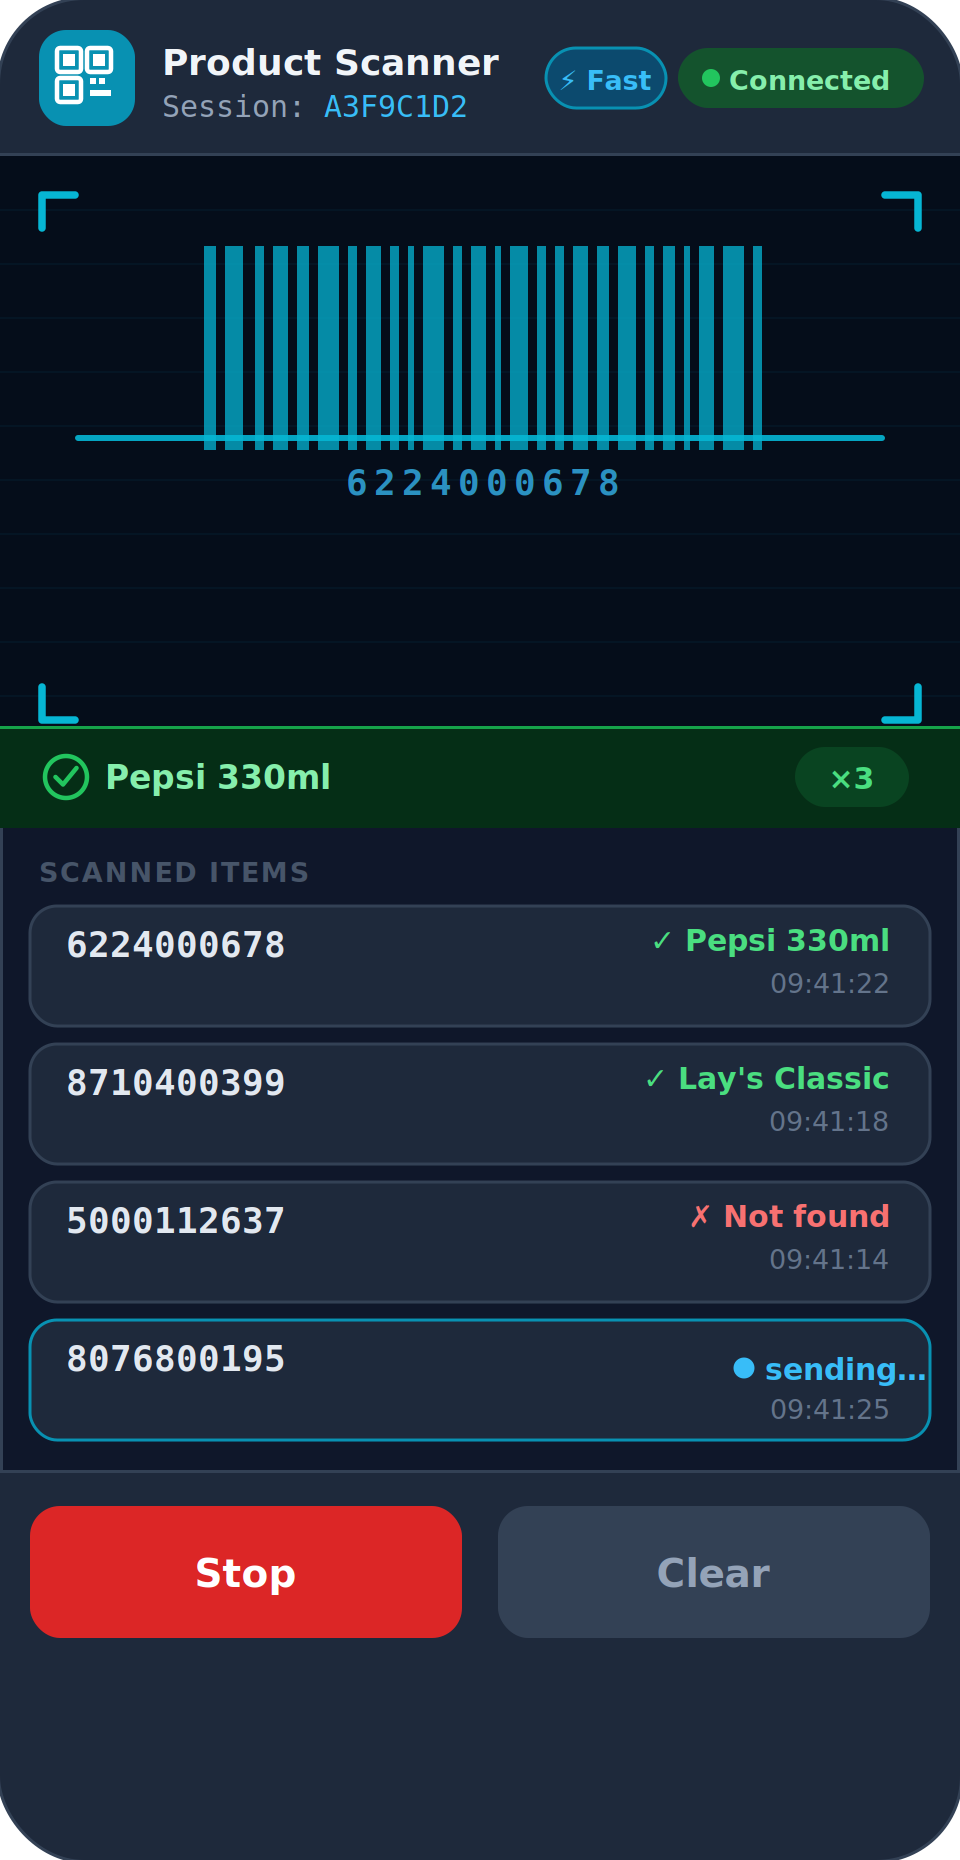
- Mobile barcode scanning with real-time cart updates
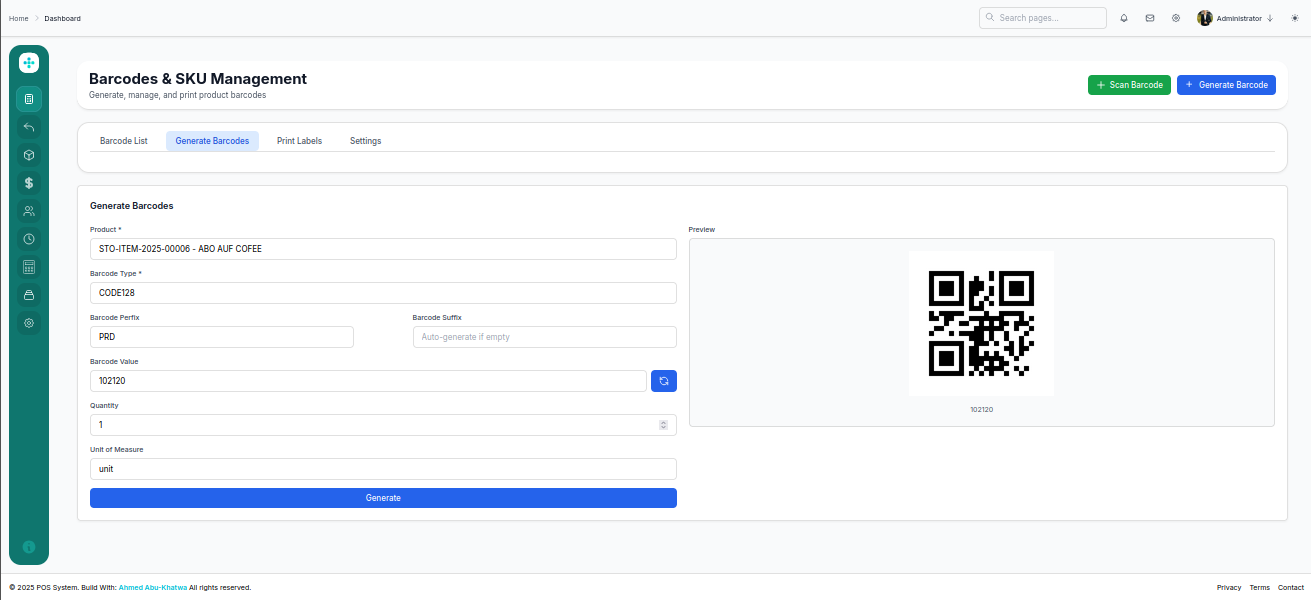
- QR code and barcode generation
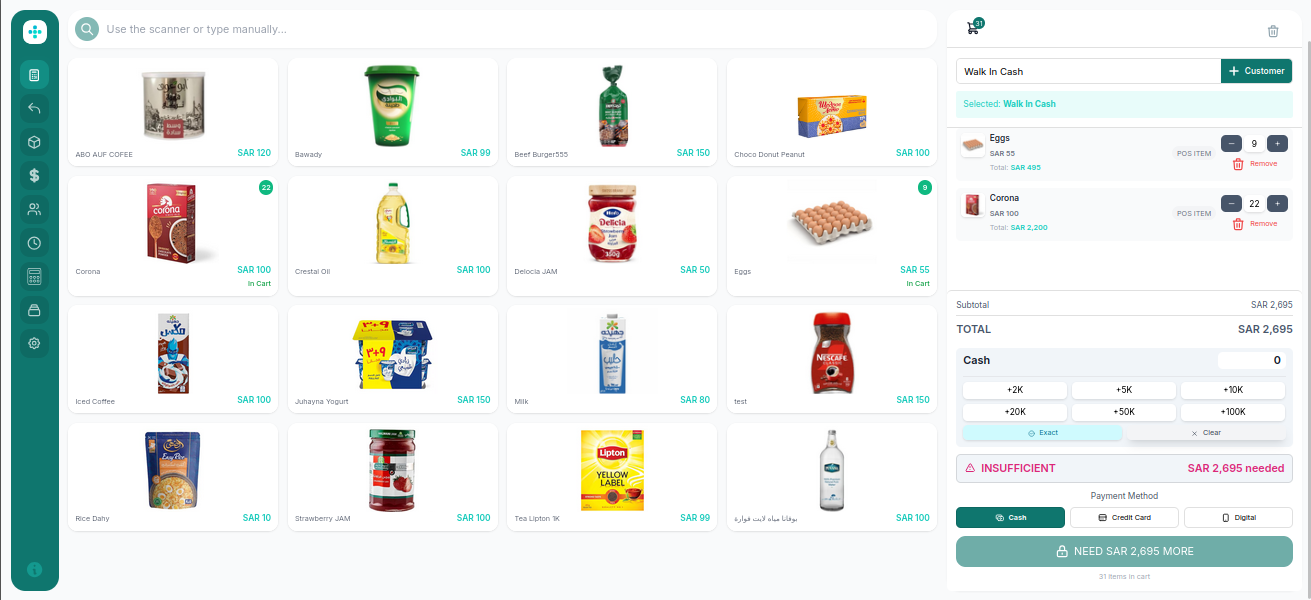
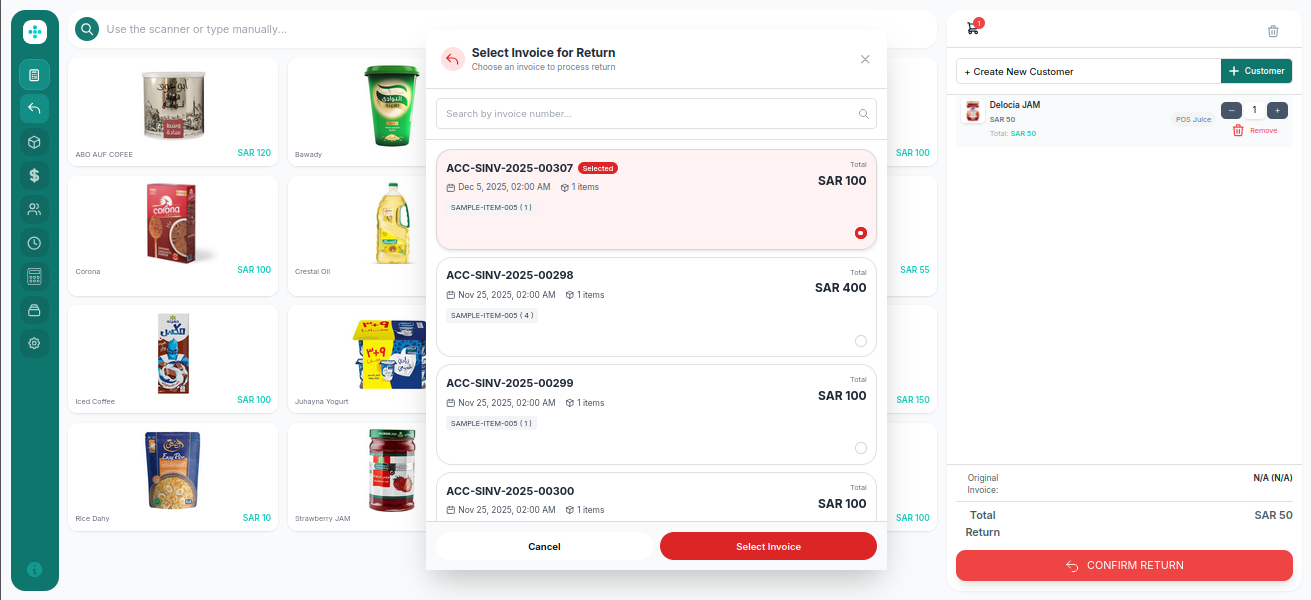
- Fast POS operations (orders, checkout, returns, refunds)
- Multiple payment methods (Cash, Card, Bank Transfer)
- Keyboard shortcuts for faster cashier workflow
- Fully responsive mobile-friendly POS experience
Shift & Cashier Management
- Opening and closing shift workflows
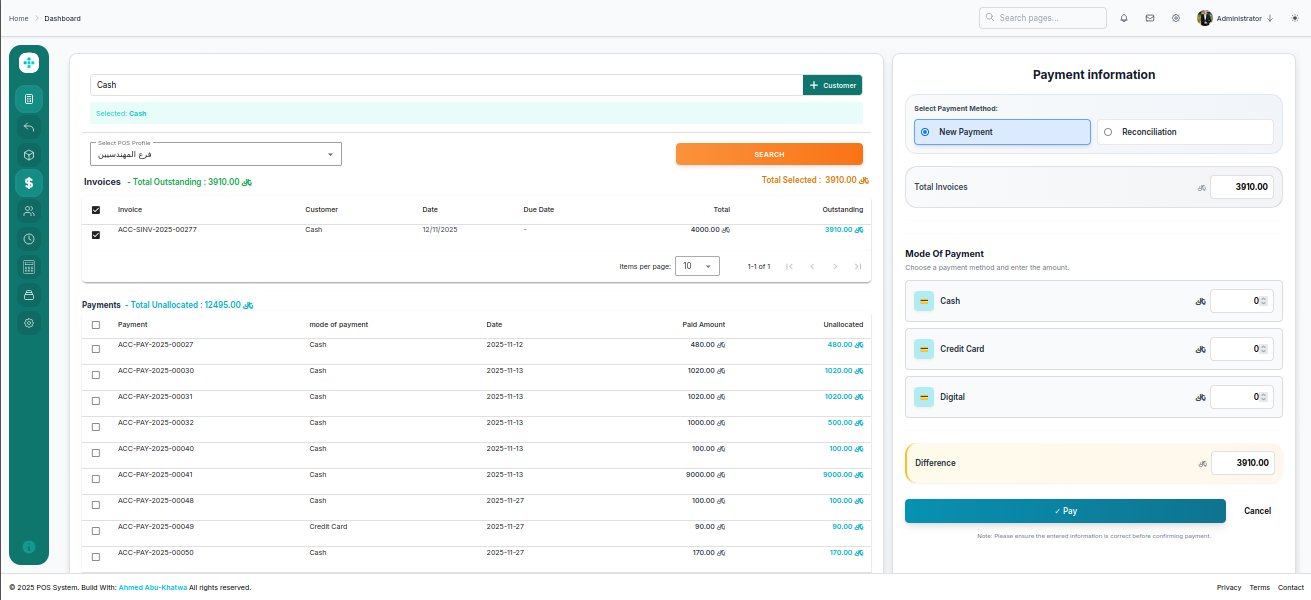
- Payment reconciliation screen
- Shift dashboard with quick Shift performance insights
- Shift scheduling and cashier assignment
- Receipt settings and cashier notifications
Retail Operations
- Stock in / stock out tracking
- Inventory transfer workflows
- Purchase receipt management
- Batch and serial number support
- Customer and supplier management
Analytics & Reporting
- Sales analytics and expense reports
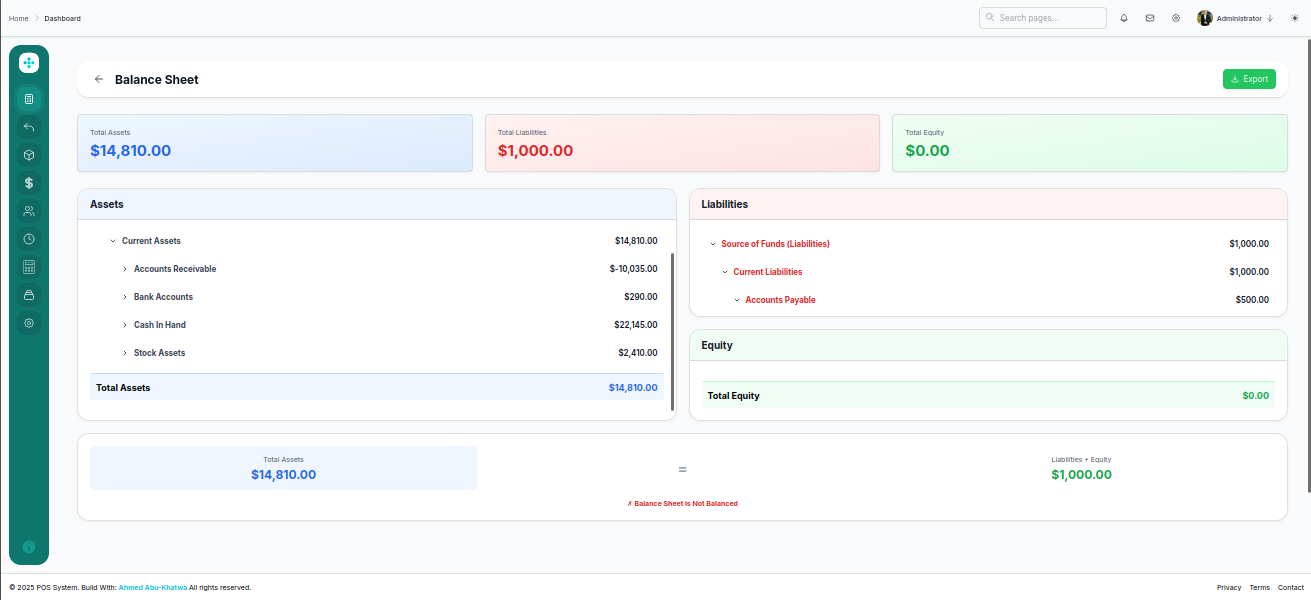
- Cash flow and financial summaries
- Accounts receivable and payable tracking
- Period closing and financial cycle overview
Customer Experience
- Customer-facing online ordering page
Built on ERPNext
Retail Suite leverages the powerful backend capabilities of ERPNext, including:
- Inventory Management
- Accounting
- HR & Staff Management
- CRM
- Stock & Warehouse Management
🖼️ Screenshots
POS – Quick Pay Screen
Mobile Web Scanner
Returns & Refunds
Payment & Reconciliation
Inventory Management (Barcode)
Finance Module
System & User Settings
🧰 Tech Stack





- Frontend: Vue.js + Tailwind CSS
- Backend: Frappe / ERPNext
- Database: MariaDB
- Designed for small & medium retail businesses
📄 License
MIT License
🌟 Show Your Support
If you find this project useful, please give it a ⭐ on GitHub!
🛠️ Development Setup — Retail Suite
1. Install Dependencies
cd ~/Music/frappe-bench-v16/apps/retail/
bench pip install qrcode[pil]
cd ~/Music/frappe-bench-v15/apps/retail/retail-suite
npm install
2. Create .env File
Create a .env file inside retail-suite/:
VITE_FRAPPE_HOST=192.168.8.5
VITE_FRAPPE_URL_LOCAL=https://192.168.8.5:81
VITE_VUE_URL=https://192.168.8.5:5173
VITE_ENV=development
VITE_SITE_NAME=site.com
VITE_SOCKET_URL=http://192.168.8.5:9000
SOCKET_PORT=9000
VITE_CERTS_DIR=/home/frappe/Music/frappe-bench-v15/certs
⚠️ Replace
site.comwith your actual Frappe site name.
3. SSL Certificates (mkcert)
The app requires a trusted HTTPS certificate for mobile barcode scanning and realtime to work correctly. Self-signed certificates will cause Network Error on mobile devices.
3.1 Install mkcert
sudo apt install libnss3-tools
wget -O mkcert https://github.com/FiloSottile/mkcert/releases/download/v1.4.4/mkcert-v1.4.4-linux-amd64
chmod +x mkcert
sudo mv mkcert /usr/local/bin/
3.2 Generate Trusted Certificate
# First time only — creates local CA
mkcert -install

This creates a root CA at:
~/.local/share/mkcert/rootCA.pem ~/.local/share/mkcert/rootCA-key.pem
# Generate certificate for your server IP
cd /home/frappe/Music/frappe-bench-v15/certs
mkcert 192.168.8.5 localhost
This creates two files:
192.168.8.5+1.pem       ← certificate
192.168.8.5+1-key.pem   ← private key
These paths match what vite.config.js expects via VITE_CERTS_DIR and VITE_FRAPPE_HOST.
3.3 Configure Nginx to Use the Certificate
Edit your nginx config:
sudo nano /etc/nginx/conf.d/frappe-bench-v15.conf
Inside the server block for port 81, update the certificate paths:
ssl_certificate     /home/frappe/Music/frappe-bench-v15/certs/192.168.8.5+1.pem;
ssl_certificate_key /home/frappe/Music/frappe-bench-v15/certs/192.168.8.5+1-key.pem;
Then reload nginx:
sudo nginx -t && sudo systemctl reload nginx
3.4 Trust the Certificate on Your Laptop (Chrome/Ubuntu)
# Install CA into system & Chrome trust store
mkcert -install

# Then fully restart Chrome
pkill chrome
Or manually in Chrome:
chrome://settings/certificates → Authorities → Import
Select: ~/.local/share/mkcert/rootCA.pem
Check: Trust this certificate for identifying websites → OK
3.5 Trust the Certificate on Android
Start a temporary HTTP server to serve the CA file:
cd $(mkcert -CAROOT)
cp rootCA.pem rootCA.crt
python3 -m http.server 9999
Open on Android browser:
http://192.168.8.5:9999/rootCA.crt
Then: Settings → Security → More security settings → Install certificate → CA Certificate → select the downloaded file.
If port 9999 is blocked:
sudo ufw allow 9999After installing, stop the server withCtrl+C
3.6 Trust the Certificate on iOS (iPhone/iPad)
Start the temporary server (same as Android):
cd $(mkcert -CAROOT)
cp rootCA.pem rootCA.crt
python3 -m http.server 9999
Open Safari (not Chrome) on your iPhone:
http://192.168.8.5:9999/rootCA.crt
Safari will prompt: "Allow download?" → tap Allow
Step 1 — Install Profile:
Settings → General → VPN & Device Management → (profile under "Downloaded Profile") → Install
Step 2 — Enable Full Trust (required):
Settings → General → About → Certificate Trust Settings
Find "mkcert ..." → enable the toggle → tap Continue
⚠️ Without Step 2, the certificate installs but is NOT trusted — HTTPS will still fail.
4. Run Dev Server
npm run dev
Dev server will be available at:
https://192.168.8.5:5173/
5. Login First
Before opening the app, log in to Frappe first:
https://192.168.8.5:81/login
Then open the app:
https://192.168.8.5:5173/
The app relies on a Frappe session cookie — it must exist before the app loads.
6. Build for Production
npm run build
Output will be placed in:
../retail/public/retail_suite/
Production Deployment — Retail Suite
1. Build the Vue App
npm run build
Output will be at: ../retail/public/retail_suite/
2. Link Assets to Frappe
cd /path/to/frappe-bench
bench build --app retail
bench clear-cache
3. Configure Nginx
Open your site's nginx config:
sudo nano /etc/nginx/conf.d/frappe-bench-v15.conf
Add these two blocks before location / inside your site's server block (port 81):
location /retail_suite {
    alias /path/to/frappe-bench/sites/assets/retail/retail_suite/;
    try_files $uri $uri/ /retail_suite/index.html;
    index index.html;
}

location /pos {
    alias /path/to/frappe-bench/sites/assets/retail/retail_suite/;
    try_files $uri /retail_suite/index.html;
    index index.html;
}

location /socket.io {
    proxy_http_version 1.1;
    proxy_set_header Upgrade $http_upgrade;
    proxy_set_header Connection "upgrade";

    proxy_set_header Host $host;
    proxy_set_header X-Frappe-Site-Name dms.com;

    proxy_set_header X-Forwarded-For $proxy_add_x_forwarded_for;
    proxy_set_header X-Forwarded-Proto $scheme;

    proxy_pass http://frappe-bench-v15-socketio-server;
}
4. Reload Nginx
sudo nginx -t && sudo systemctl reload nginx
5. Access the App
https://your-server-ip:81/pos
Note: Make sure you are logged in to Frappe (
/app) before accessing/pos, as authentication is handled by Frappe's session.