
Mac Action Orchestrator
Local-first macOS action orchestrator with FastAPI + Uvicorn + Gemini planner.
1. Prerequisites
- macOS
- Python 3.10+ (recommended: 3.11 or 3.12)
pipavailable- Apple Vision Framework (built into macOS) for OCR
- Xcode Command Line Tools (required for
swiftruntime):xcode-select --install
Why 3.10+:
- Python 3.9 is already EOL and may trigger warnings with newer
google-auth. - System Python on older macOS may use LibreSSL, which can cause
urllib3warnings.
OCR note:
- Vision OCR is executed through a Swift script (
Vision/AppKit/Foundation). - On a fresh machine/session, the first OCR call may be noticeably slower due to cold-start compilation/loading, and this can cause the first run to fail (for example, OCR timeout). A retry usually succeeds once warmup is complete.
2. Setup
In project root:
cd /path/to/mac-action-orchestrator
python3 -m venv .venv
source .venv/bin/activate
pip install -r requirements.txt --index-url https://pypi.org/simple
If you copied this project and .venv did not exist before, creating it is expected.
3. Config
Use local-safe config - By default, no setting is required.:
{
  "host": "localhost",
  "user": "local",
  "remote_tmp_screen_path": "/tmp/agent_screen.png",
  "ssh_options": [],
  "rate_limit_seconds": 2
}
Current code is set to local execution mode for hackathon use.
4. Run
source .venv/bin/activate
uvicorn app:app --reload --port 8000
Open a new terminal window:
open -na "Google Chrome" --args --incognito http://127.0.0.1:8000
(Open this URL in a Chrome Incognito window.)
Permission note:
- On first runs, macOS may show multiple permission dialogs.
- Grant all required permissions (Accessibility, Screen Recording, Automation) before expecting stable end-to-end runs.
- It is normal if the first few runs fail while permissions are still being approved.
- In general, you cannot fully pre-grant these permissions from code before running; macOS requires user approval dialogs.
- Permission setup guide (step-by-step for Terminal):
https://docs.google.com/document/d/1iAPZq1aGQyLF7jpY-fye3rQRxDQVX5VCJIG8thkapnE/edit?usp=sharing
Prompt examples:
Open https://www.google.com in Chrome and then create a new tab, then move to the tab on the left, input wiki in this tab then search. On the results page, click the lowest (bottom-most) Wikipedia result visible on screen. No scrolling.Open https://www.youtube.com/watch?v=5OR4c87Xt-E, and play the video from 00:30. Wait 5 seconds, than do next.Open https://www.wikipedia.org in Chrome, search for "Yosemite National Park", press Enter, wait for results, open the print dialog, click Save once, then press Enter to confirm saving as PDF. Wait 5 seconds, then stop.Open https://en.wikipedia.org/wiki/Main_Page. Repeatedly scroll down one page. After each scroll, look for the visible text "Contact WikiPedia". As soon as it is visible, click it and stop scrolling.(Max plan_again times should be set to 10 or more and you should have a solid API key)
5. First-time macOS permissions
You may need to allow permissions for Terminal:
- Accessibility
- Screen Recording
- Automation (System Events / Chrome, if prompted)
Permission Guide:
- Use this guide to complete macOS permission setup for Terminal/iTerm:
https://docs.google.com/document/d/1iAPZq1aGQyLF7jpY-fye3rQRxDQVX5VCJIG8thkapnE/edit?usp=sharing - It explains what each permission is for and where to enable it in System Settings.
Without these, actions or screen-size/screenshot related APIs can fail.
6. Run completion behavior:
-
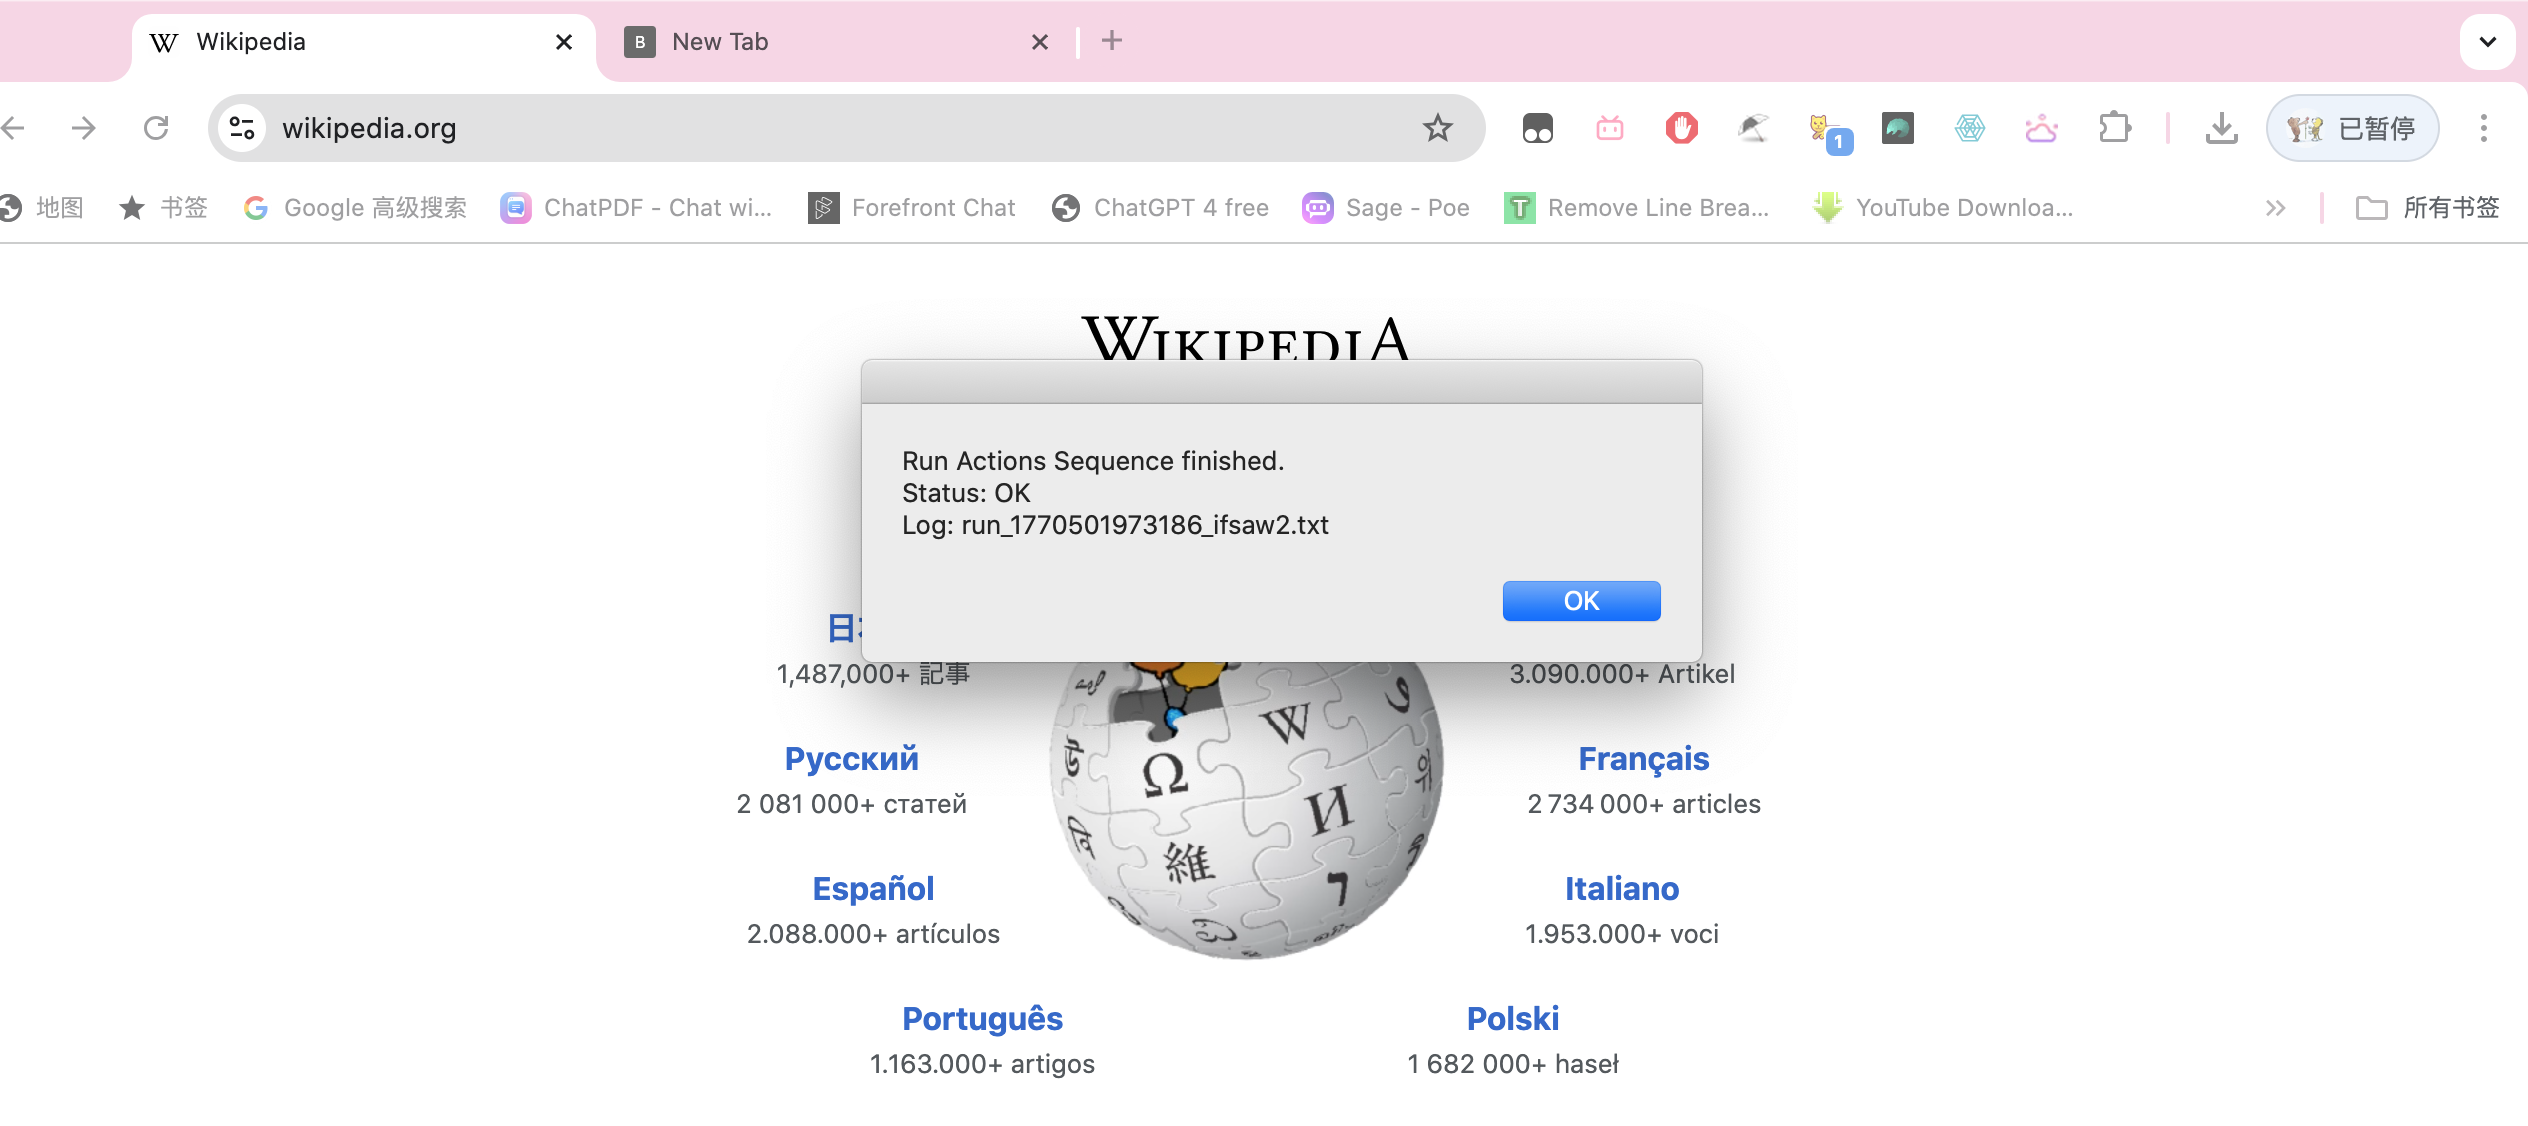
After all actions finish, the app shows a completion dialog popup with final status and log name.
-
The full execution log is saved under
static/logs/(for example:static/logs/run_<timestamp>_<id>.txt). -
Example completion screenshot:
7. Common errors and fixes
source: no such file or directory: .venv/bin/activate
- You have not created venv yet.
- Run:
python3 -m venv .venv
zsh: command not found: uvicorn
- Dependencies were not installed in the active venv.
- Run:
source .venv/bin/activate && pip install -r requirements.txt
AssertionError: jinja2 must be installed
jinja2missing.- Run:
pip install -r requirements.txt(orpip install jinja2)
ModuleNotFoundErrorfor Gemini / Google SDK
google-genaimissing.- Run:
pip install -r requirements.txt
POST /api/screen_sizereturns500
- Usually macOS permissions issue, or running an old code version.
- Check permissions listed in section 5.
- Confirm you are on latest local-only code.
- First OCR call is slow (or times out once)
- This can happen on first run while Swift/Vision warms up.
- Retry once; subsequent OCR calls are typically much faster.
- Unexpected SSH password prompt
- This means you are likely running an older remote-enabled version.
- Pull latest code and restart server.
8. Security notes
- Do not commit real API keys or machine-specific secrets.
- Keep
config.jsonlocal and sanitized. - Use
config.example.jsonas template for sharing.
9. End-to-end example (planning + click logic)
Example prompt:
Open https://www.google.com in Chrome and then create a new tab, then move to the tab on the left, input wiki in this tab then search. On the results page, click the lowest (bottom-most) Wikipedia result visible on screen. No scrolling.
What happens in this project:
- Planner stage
- You click
Run. /api/plan_actionssends your natural language prompt to Gemini.- Gemini returns structured batches/actions (not raw UI clicks yet), such as:
- open URL
- keyboard shortcuts (new tab / go to tab 1)
- type text + enter
plan_again/click_atstyle actions for visual selection
- Execution stage
- The app runs actions locally via AppleScript/JXA.
- After key steps (especially before visual clicks), it captures a fresh screenshot.
- The run log is written to
static/logs/...and shown in UI.
- Click logic (important)
- For click actions, the app does OCR on the latest screenshot and extracts visible text tokens with bounding boxes.
- If the click target text is unique, it computes the center point and clicks directly.
- If multiple matches exist, it enters disambiguation:
- generates an annotated image (numbered/marked candidates; “draw circles/boxes” style targeting aid),
- asks Gemini to choose the best candidate index using the screenshot + context prompt,
- executes click on the chosen candidate center.
- If page state is not ready or occluded, it may trigger a recovery branch (re-plan or occlusion resolution) and continue.
- Why this is robust for “lowest Wikipedia result”
- The instruction “bottom-most visible result” is treated as a visual grounding problem, not just text matching.
- OCR tokens provide concrete on-screen candidates.
- Candidate annotation + Gemini selection adds a second pass when simple exact match is ambiguous.
- This reduces wrong clicks caused by duplicate text (e.g., multiple “Wikipedia” labels on one page).
Tips for better reliability with this type of prompt:
- Include constraints like
No scrolling,visible on screen,bottom-most. - Keep target text explicit (
Wikipedia result) rather than vague (click that one). - If there are repeated labels, include nearby context in prompt (for example: “in search results list, not top nav”).